
Celebrate spring with a green wall!
Published on Tuesday, 21 September 2021
Last updated on Monday, 20 September 2021
With the weather warming up, it’s a great time to get the children outside and into the sun and fresh air for some garden fun.
This week a couple of ideas to encourage tiny green thumbs to spend time in the garden day-after-day as they put these projects together and enjoy watching them grow.
[googl_ad]
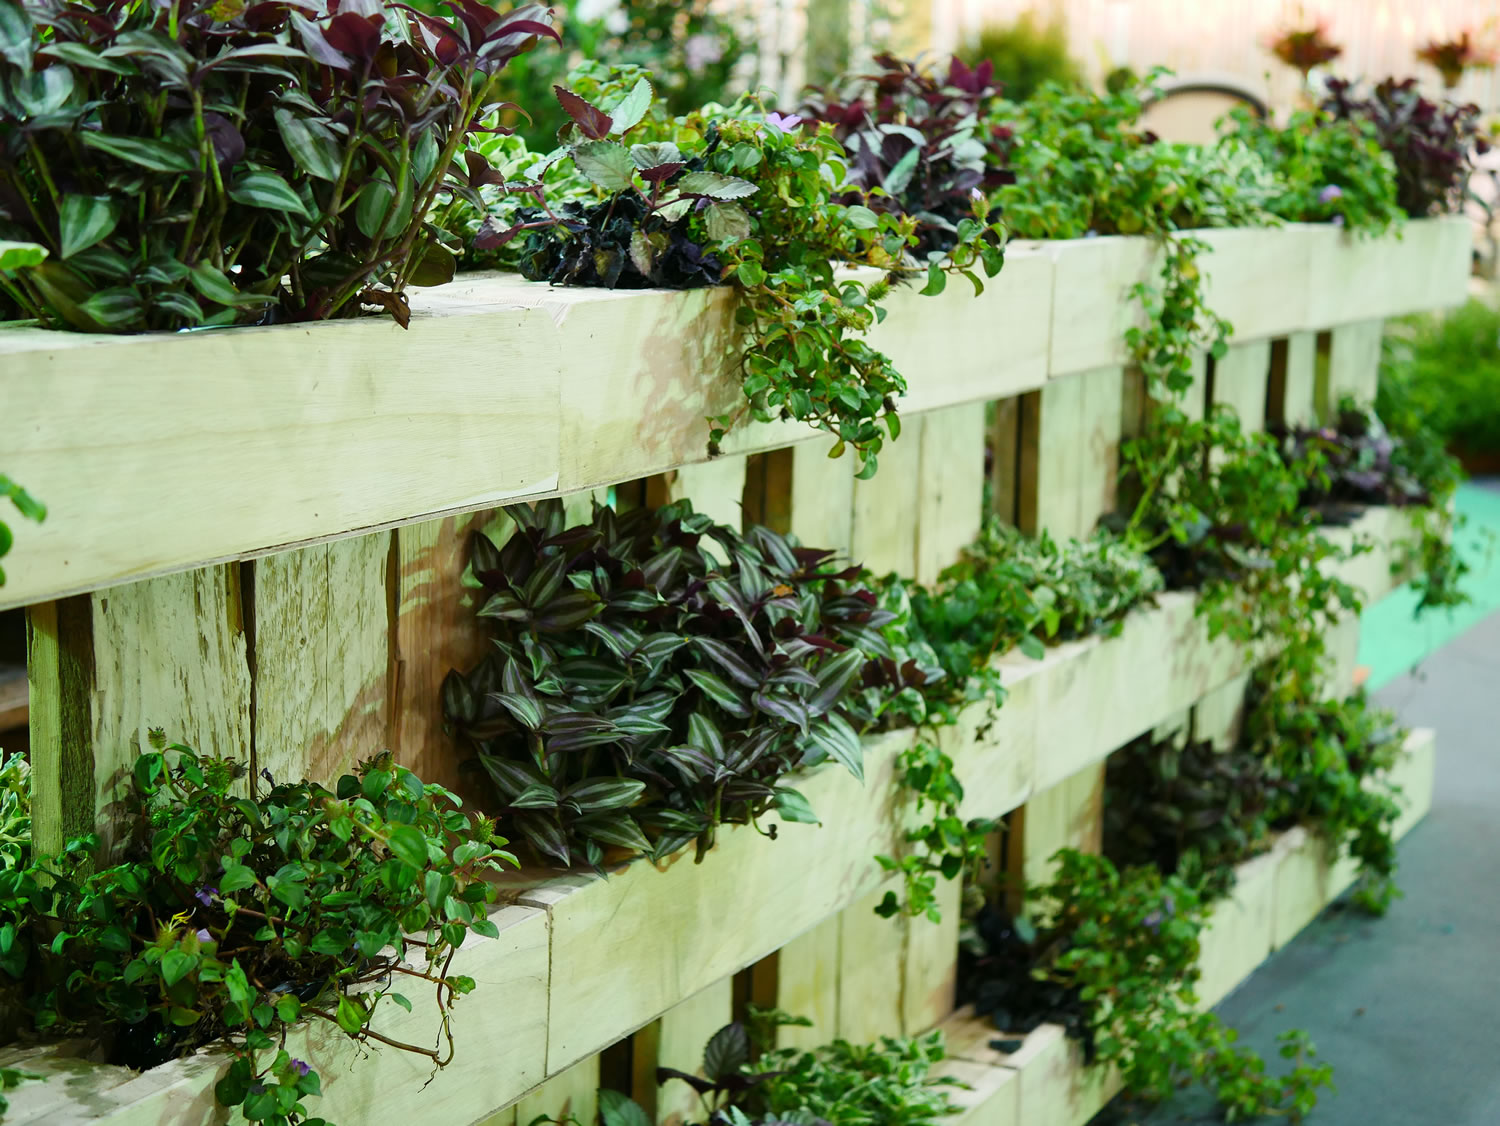
Green Wall
Green walls, living walls, vertical gardens - there are as many names for these planters as there are ways to put them together. And the benefits of green walls - and plants in general - in early education services have been proven time and again to improve children’s attention spans, information retention abilities and moods, so what’s not to love?
If your service runs small on space, they’re a wonderful way to introduce some gardening goodness to the kids in your care and let them get grubby for a bit of fun in the sun. How you do this will depend on space, what materials you have available, what plants you want to grow, and how much time you want to spend preparing structures for the kids to plant into.
You can of course buy a kit online or from a garden or hardware store, complete with custom-built plant pockets, a heavy-duty frame and all the fixings you need to attach it to a wall.
Or if you have time and energy to spare (or some handy parents and carers to help) you could build the whole structure yourself for the kids to plant out. An easier option, which is less work for you and probably much more fun for young children, is to start a collection of clean recycled containers such as yoghurt pots or tin cans and use these as your plant pots.
You will need:
- Clean recycled containers - however many you choose to use, but one per child is a good option
- Scissors, a drill or even a knife or screwdriver to punch the holes
- S hooks, one for each container
- Anchors to attach the hooks to a wall or fence
- Potting mix
- Trowels
- Plant seeds or seedlings
- A section of sunny wall or fence to hang them on
- Paint and brushes or markers
How to:
- Take your containers and cut, punch or drill three or four drainage holes into the base of each one, as well as a hole about two centimetres below the rim of the containers for a hook to hang each one up.
- Next, give the containers to the kids with a selection of markers or paint and brushes for some decorating fun. Once they’re dry, it’s time to get planting.
- Either buy or make a potting mix suitable for raised planters, with a mix of ⅓ perlite, vermiculite or coconut coir, ⅓ peat moss and ⅓ compost. Give the kids a tub of the potting mix, some small hand trowels and get them filling their containers to about a centimetre below the rim.
- They can then choose their own plant and nestle it into their container - younger kids may need help to make sure the plant is properly inside the container with its roots covered.
- Insert a hook into the back of each container and hang them up on the wall or fence you’ve chosen as your growing space. Help the kids to water them every couple of days according to the instructions on the seed packets or seedling tags.
Try to choose plants that will suit the space you’ve chosen for hanging them, making sure they’re going to get enough light, airflow and admiration in that spot to keep them healthy and thriving.
While flowers are an excellent choice for any garden, it can be even more fun for kids to grow something edible in their vertical garden, so why not try to get your hands on some strawberry plants? After all, what child doesn’t love a handful of juicy, sweet strawberries in summer? They taste even more satisfying if you’ve grown them yourself and growing them in a hanging garden protects the berries from slugs and snails.
Terrarium
If you’d like to bring some of the outdoors inside for your class to enjoy, a terrarium is a great project for little hands to dig into. Closed terrariums are lovely to look at and easy to maintain, and they also offer a wonderful opportunity to teach children about the water cycle within a closed environment.
Large empty soft drink bottles work well as vessels to create terrific terrariums and are safer than a glass bowl or vase for little hands. And this can be a fun social activity to get a small group of toddlers or preschoolers to work on together.
You will need:
- Large clear plastic bottles with lids, enough for groups of three or four children to create one terrarium together
- Scissors or a Stanley knife to cut the bottles in half (keep both halves)
- Small stones or pebbles
- Crushed charcoal (not powdered)
- Potting mix
- Small trowels
- A selection of small plants that work well in containers such as succulents, moss, air plants or small ferns
- Decorative items such as small toys or figurines
- Water
- Clear sticky tape
How to:
- Cut each bottle in half, keeping both the top and the bottom halves. Set the top halves aside for now.
- Give one bottom half to each group of kids and get them to fill it to about a quarter of the way up with small stones. This will be the drainage layer, where the water will collect after it has passed through the soil.
- Next, show them how to add a layer of crushed charcoal. This will be the filtration layer, to keep the water that passes through nice and clean for its reuse.
- Now they can add the potting mix. Again, choose a mix that is suitable for raised planters, with good drainage. This layer should go close to the top of the rim of each halved bottle, about a centimetre away.
- It’s time for the plants. Get the kids to choose which plants they would like to add into their garden and show them how to dig holes and plant each one ensuring their roots are properly covered.
- The groups can now add their decorative features. Small figurines of people, animals, cars and houses can be fun choices, but let their imaginations run wild by giving them a wide selection of little toys. You can even help the kids turn their terrariums into fairy gardens, with tiny fairy figurines, a little cottage and some mini toadstools for the winged friends to sit on.
- Once each group is happy with their miniature garden, it’s time to water them and seal them up. Have the children add a small amount of water to their terrarium, then place the top half of their bottle over the bottom, with the sides overlapping for a tight fit. Smaller children may need help with this part. Go around to each group and seal their bottles with clear sticky tape around the overlapping edge for security.
- The bottles can now be put on display. Choose a sunny spot without direct sunlight, where the children can easily see their clever creations and observe the way the water cycle works.
Related Articles

Gardening activities for little green thumbs
Being outdoors and getting their hands dirty gardening is fun and develops fine motor skills and self-confidence.
Going green - Improving sustainability practices in your centre
Reducing waste and taking care of the environment has never been more important to lessen the effects of climate change and ensure future generations can continue to thrive.
Teaching sustainability to young people
10 simple strategies for teaching children in early education settings about sustainability, through simple activities and play-based learning.